

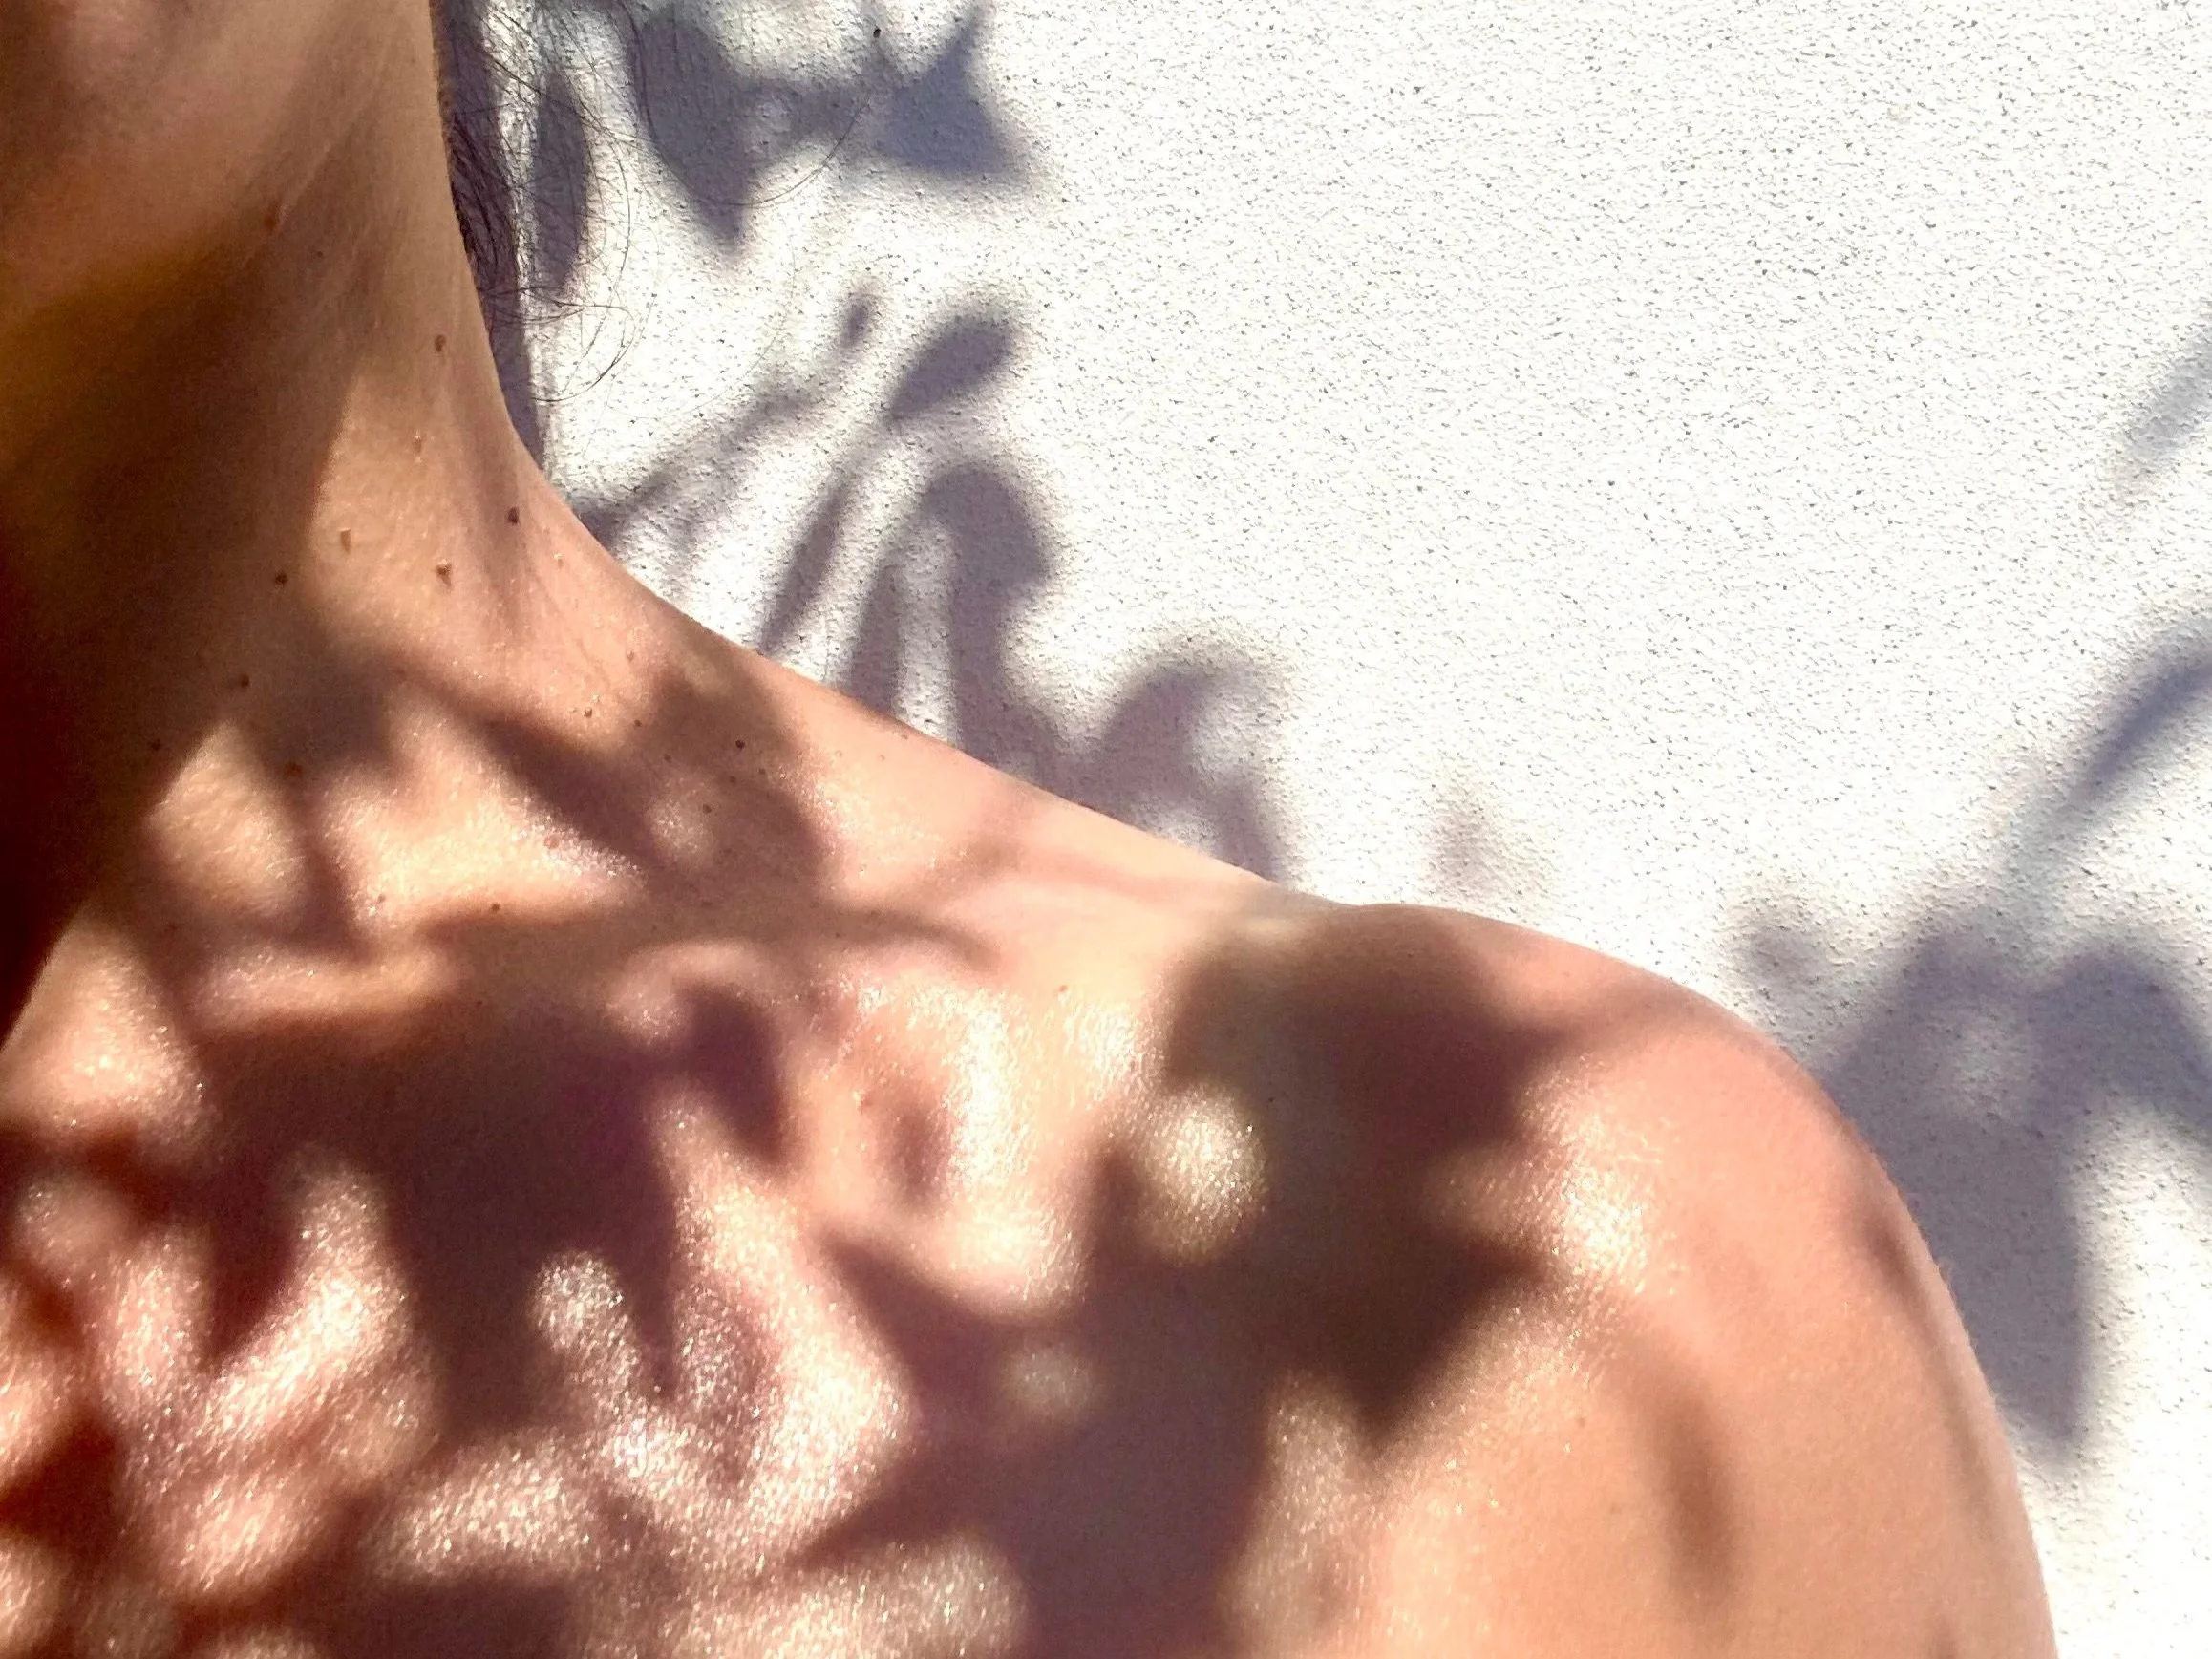
My Own Skin Story
My own skin story is a big part of why I work the way I do. From my late teens into my mid-twenties, I had acne. It arrived quite suddenly and, at the time, felt all-consuming. It affected not just my skin, but how I felt in myself - my confidence, my sense of ease, and how comfortable I felt in my skin (both literally and metaphorically).
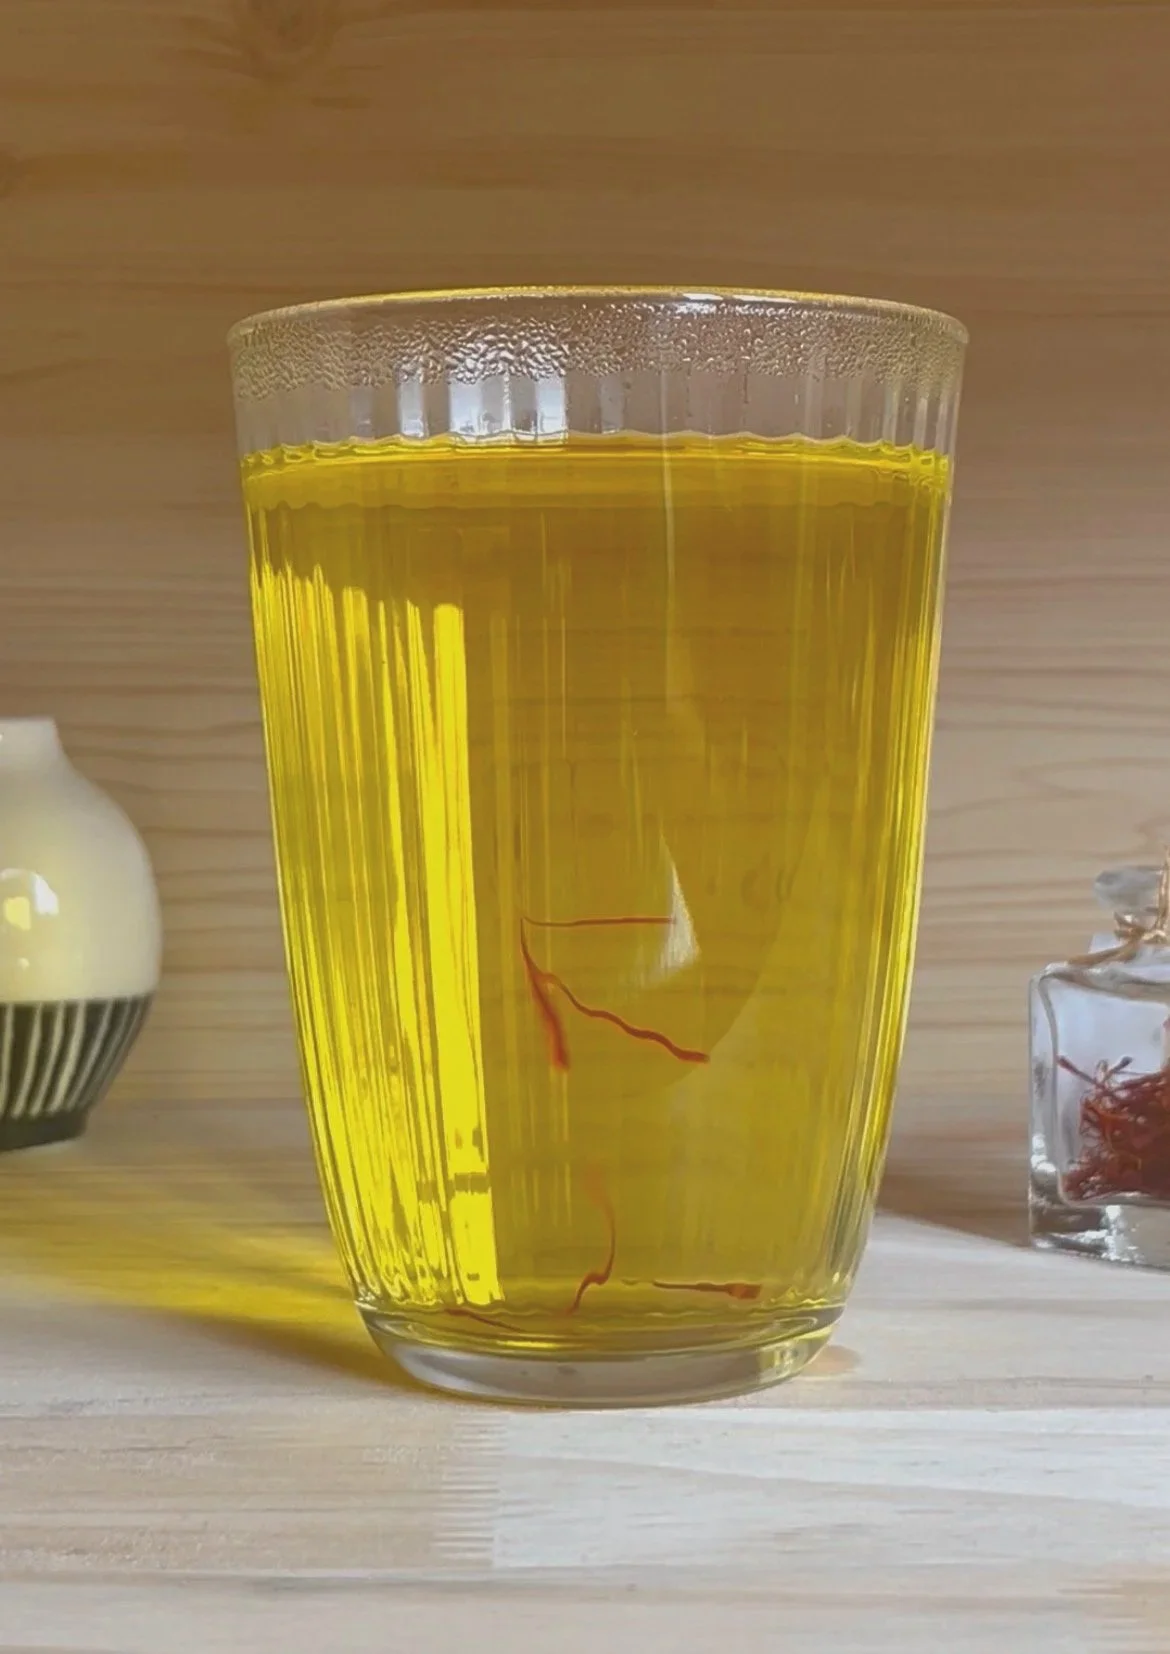
Saffron’s Benefits for Mood and Emotional Wellbeing
Saffron is considered a highly valuable spice. It’s been used for thousands of years as a culinary ingredient, a dye , a religious offering, and a traditional medicine. As the pharmacological properties of its extracted components become more well-understood, it’s place as a therapeutic spice are becoming scientifically recognised.
Do You Need To “Maxx”?
‘Fibre-Maxxing’, ‘Protein-Maxxing’, ‘Sleep-Maxxing’…. the trend for maximising/super-charging/optimising our health by doing things by extremes or doing them to the max. But how sustainable is this and what’s the real benefit?

How to rehydrate and nourish dry, dehydrated skin - inside and out
Dry, flaky, or tight-feeling skin isn’t just a surface issue. Whether your skin is dry (lacking oil) or dehydrated (lacking water), the driver often starts beneath the surface. Supporting hydration through dietary nourishment, lifestyle balance, and strategic skincare is the key to restoring softness, suppleness, and long-term skin health.

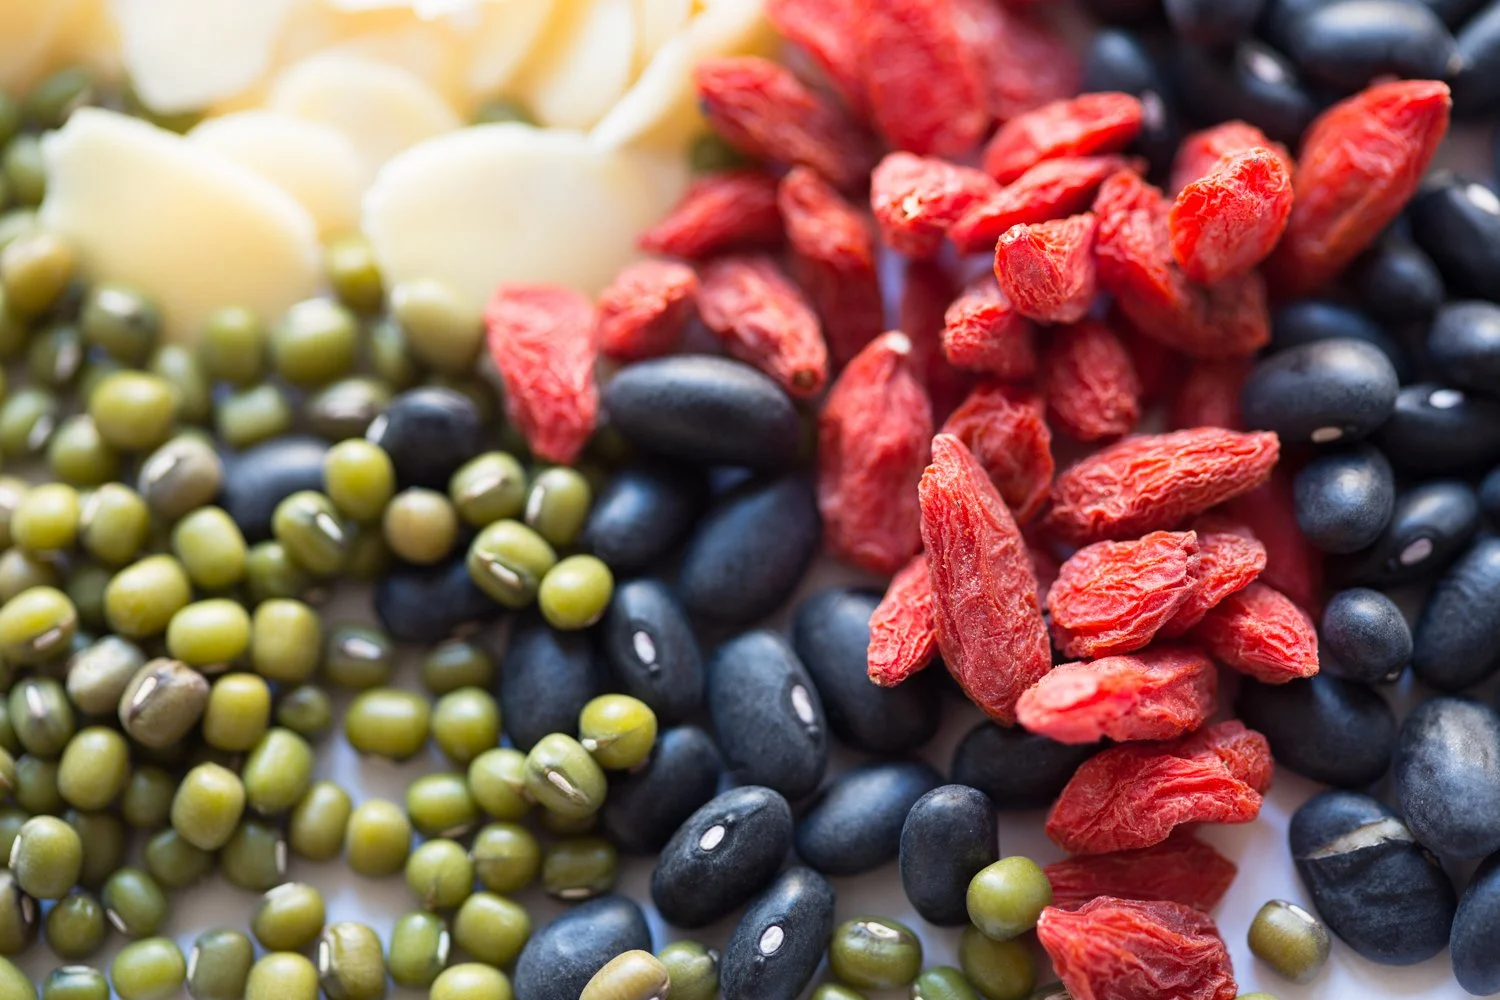
5 top markers to test if you’re tired all the time
If you’re feeling exhausted, you’re not alone. Fatigue is probably the most common symptom clients want to resolve when they come to see me. Often it’s part of a bigger picture - but feeling tired is almost always part of the puzzle, and often the most immediate thing they seek to resolve. Here’s an outline of the top 5 markers I test for fatigue.
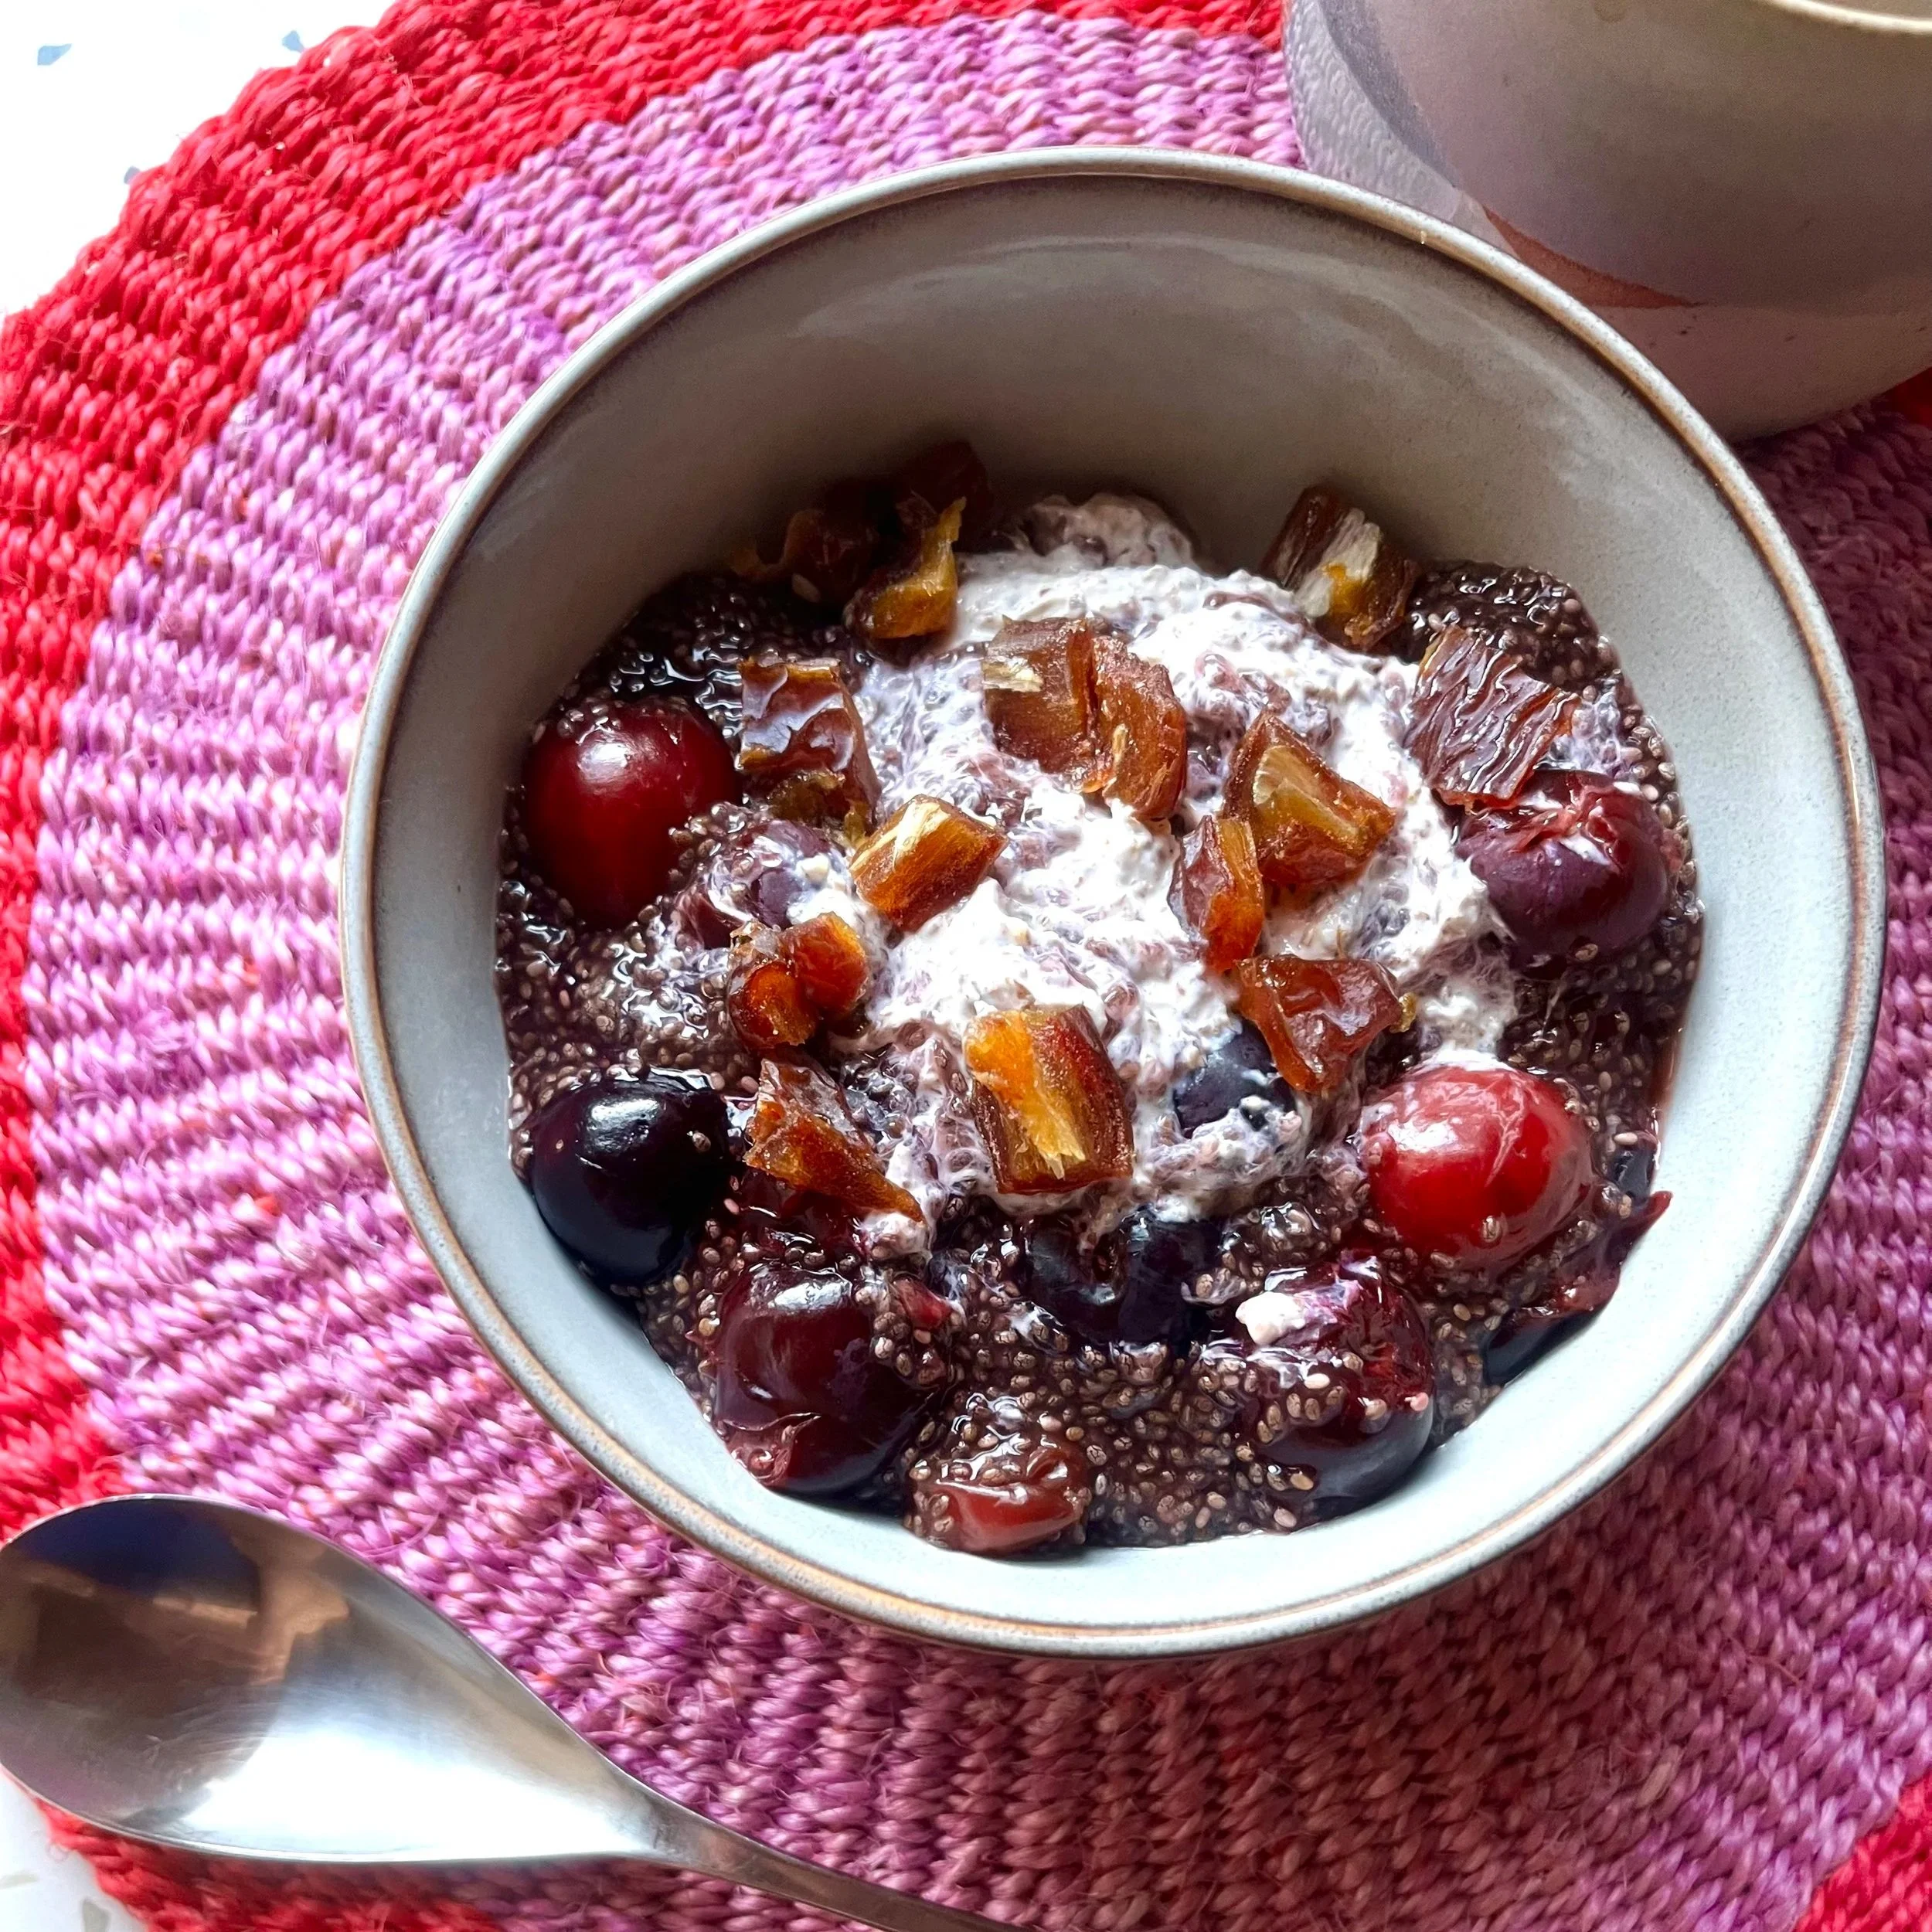
A Favourite Breakfast Recipe
A high-protein, high-fibre breakfast recipe for glowing skin and sustained energy. Easy to prep in advance, and to make on repeat - it takes the guesswork out of what to eat on busy mornings.
How to Support Your Skin Through Perimenopause & Menopause
Learn how to nourish and revitalise your skin during perimenopause and menopause with expert nutrition and skincare support.

Why Language About Ageing Matters
Why language about ageing matters. Words to describe our bodies and skin such as ‘unrecogniseable’, ‘failing’ or ‘exhausted’ aren’t helpful for framing our perceptions of a natural process of change.

Hair Loss in Perimenopause: Why Nutrition Matters
Perimenopausal hair loss is usually hormonally driven, but that’s only part of the picture. Nutritional factors play a critical role, too - whether or not medical or in-clinic treatments are also being used. Think of nutrition as providing the raw materials your body needs to grow and maintain healthy hair.

The ‘In Your Skin’ Method and my 3-pillars of skin health
My approach to skin health is founded on three essential pillars: nutrition, in-clinic treatments, and at-home rituals. The combination of these modalities gives sustainable and long lasting results that influence skin beyond the surface.

The Supplements I Recommend Most - And Why
The supplement market can be overwhelming, but as a Nutritional Therapist and supplement expert, I can take the guess work out for you and advise you on what you actually need. Here are the 3 supplements I recommend the most, with the caveat that you should always check the suitability of any supplement for your individual needs.

What is Future-Proofing Your Health?
What does future-proofing your health really mean? While our actions now are no guarantee of our future, they set the foundations for where we want to be in years to come.